PURPOSE: This guide is intended to answer the most frequent asked or how do I…? questions for using the newly-implemented Google Workspace for Education platform at Dragon Rises College. If you have any questions or issues not mentioned below, please feel free to email me at IT@dragonrises.edu and I’ll reply as quickly as possible.

FOUNDATION: In order to use the Google Education+ platform, an account must be created by Admin for each user, to include a personal email address and a phone number; without these credentials, none of the other tools will be available. If there are issues with the account creation step, please email IT@dragonrises.edu and Admin will get it sorted out with you.

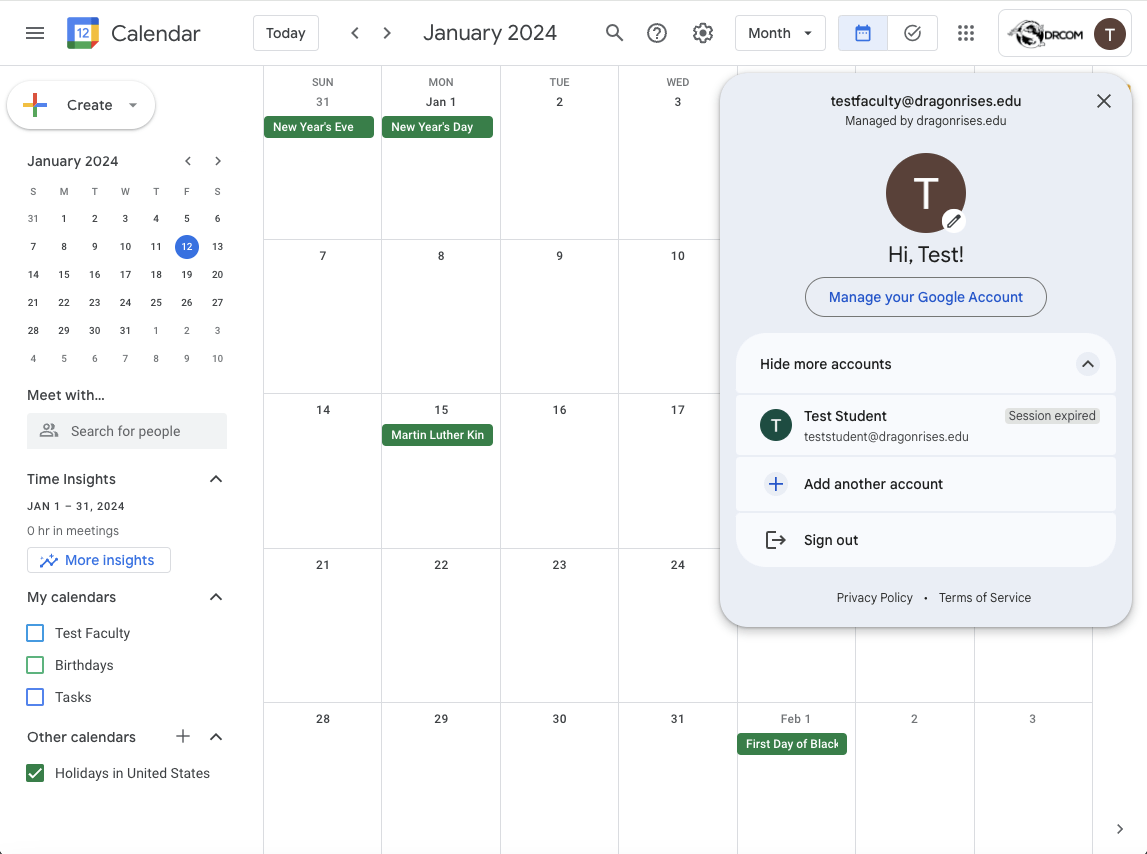
TO BEGIN:  The first step that must be undertaken is to log into your Dragon Rises account. In your Chrome web browser, visit gmail.com and enter your @dragonrises.edu credentials. This is usually your First Initial + Last Name @dragonrises.edu, and the Password you chose when initializing your account.

PREMISE: Dragon Rises (DR) recently introduced an online/hybrid teaching modality to its traditional on-campus program. This distance education (DE) model was based on a system implemented during the Covid-19 pandemic of 2020. At the time, DR created an ad hoc online learning model out of sheer necessity, since public forums were closed and the population was on lockdown and unable to attend on-campus events. This model served its purpose given the limited time, tools, and expertise available. Beginning Fall 2023, the DE program was granted full licensure and accreditation, and began as a standalone program outside of the traditional program structure. The same Covid-19 model was used because it had worked in the past, and, presumably, would work in the future. While functionally effective, many issues became apparent as the model was used on a daily basis, and a more streamlined, DE-specific solution needed to be found. Google Workspace for Education+ was chosen as the solution, which integrates multimodal communications (via GMail, Meet, and collaborative document sharing), a full-featured office suite (Docs, Sheets, Slides), cloud storage (Drive), automated scheduling (Calendar), and video sharing tools (YouTube), among other.

USING THE CORRECT TOOLS & ACCOUNTS

Once logged in to your @DR account, you will be taken to the Inbox by default. There are a plethora of tools available from this screen, including your email controls to the left (Inbox, Sent mail, Spam & Trash, among others), and real-time communications one more menu to the left (email, instant messaging (Chat) and video conferencing (Meet). In the upper right-hand corner is a cog icon to your Settings that allow you customize the layout and feel of your Inbox, as well as rules for forwarding incoming mail to a different account, applying labels, and a host of other options. It is definitely worth your time to explore these options, in order to better understand your GMail’s capabilities.

Also in to the top right-hand corner, to the right of the Settings cog, is a 9-dot icon for Google Apps. When clicked, an overlay will show you all of the available Apps available to you, depending on the type of account you have (Student, Faculty, Staff). There are 20+ different apps to explore and try out – you may find a unique tool that suits your learning style well! This App menu is also customizable. Just click and hold the icon you wish to move, and drag it to its new location in the menu (e.g., if you use the Calendar often, you may want that App in the top row. Do this by click, hold, and dragging it to the top row.)

To the right of the DRCOM logo, in the same area, is your Account “logo” (your initial in a colored circle by default (in this case, a T in a brown circle), but this can be changed by “Manag[ing] your Google Account”). When you click your logo, you will see all of the accounts currently available on the web browser you are using; expired sessions will have to be logged into again. This is a useful area to be sure you are using your @dragonrises.edu account, NOT your personal GMail account. This is often a point of confusion and where the account being used can be set/confirmed. In order to change accounts, simply click on the account name you wish to use and the system will change to your selected account.

MOST USED APPS

Using Google Calendar

Google Calendar is a powerful tool and has many different options, beyond just keeping track of a schedule. Dragon Rises uses the Calendar app for scheduling Distance Education (DE) classes for students enrolled in the Hybrid/Online program, as well as archiving past class sessions for students to use at a later time.

Google Calendar can be found under the Google Apps/9-dots icon, and click the Calendar app. A new tab/window will open with your Calendar in view. It is recommended to double-check which calendar you intend to view by following the same steps as above, and confirming you are in your @dragonrises account (see image 1 below); change accounts by clicking the account name you wish to view. By default, a light blue color is assigned to your personal appointments (meaning personal school account, not to be confused with your personal GMail account). By default, the “Holidays in the United States” calendar is displayed in dark green and is visible both on the monthly calendar view, as well as the checked calendar under Other Calendars in the left hand-side navigation (see image 2 below). You can add any appointments you’d like by click on the date of the event and filling in the Event Details in the overlay (see image 3 below). 

For DE Students:

At the beginning of the semester, you should have received an email message with a link to the [SemesterCount and Date] calendar. When clicked, your Calendar will open and an option to Subscribe to that Calendar pops up. Click the “+Add” button to add the calendar events to your Calendar. This will auto-populate your Calendar with the course schedule for that semester, which corresponds to your Semester in the Program.


The default view in Calendar is Monthly, but this can be adjusted to your preference easily. In the upper right, center, look for the “Monthly” option next to a drop-down list. These are your Calendar view options (Day, Week, Month, Year, Schedule, or the next 7 Days). By changing to Schedule, for example, a simplified interface will display only days you have appointments (see image 2 below), or a Weekly view will show you your week as a whole.

In addition to scheduling semester courses, DE students will use the Calendar to attend classes. Once Calendar is open, find the day and date of your next class session and click the Event name. An Event Details overlay will open, including the instructor’s name, day and time of the class and any relevant details, as well as a big blue Join with Google Meet button.   Once clicked, a Meet tab/window will open and will ask for microphone and camera access permissions (this will need to be enabled the first time through the process), then click Join Now.

The same Event Details view can be used after the class session ends, as well. If the student misses a class sessions, for example, or just wants to review that day’s course content, the Event Details will display an archive at the bottom of the overlay, including any chats that were sent, a written transcript of the class sessions (though, given our courses’ content and the use of Chinese words, language and herbs, it often does a very poor job!), and a full video. In order to view the video, simply click on the video file attached and wait…it takes a minute to load, regardless of your internet speeds.

For On-Campus Students:

Occasionally, students will be unable to attend class for a variety of reasons, including personal, medical, and/or weather-related events. During this time, because the class is not a scheduled DE class session and previously scheduled in the Class Calendar, a one-off event will need to be initiated by the Instructor. Please email your Instructor directly and explain your circumstances. With the Academic Dean’s approval, a one-off class session can be arranged by the Faculty member, and the details will be emailed back to you including a link to that class session. Keep in mind that there is no guarantee that this will happen on the day you are requesting, and relies on a number of other variables that are oftentimes beyond the Instructor’s control. For example, if a student is sick and cannot make it to class on a given day, the Instructor must have access to (at a minimum) a webcam and microphone in order to facilitate a remote-learning class session. This may not always be the situation, so it is best to keep your Instructor and your Academic Dean apprised to your situation with as much lead time as possible, so they can make every attempt to accommodate your absence and request for a remote class.

Using Google Drive

Google Drive is each student’s personal cloud storage – the equivalent of a 128GB USB flash drive, except you don’t have to carry anything physical with you to use it! It’s stored on Dragon Rises’ servers and is available anywhere an internet connection is available.

The default view of Drive is similar to other Google Apps, with the center space being used for content and the left-hand side used for navigation (see image 1 below). Because this Drive is currently empty, there is not content to be displayed so it must be added. Files can be uploaded for storage and retrieval later, or can be created from within Drive itself. By clicking the New icon in the top left-hand corner you are presented with the options to either upload files or folders (if you have multiple files, this is often the easier option) or to create Google Office documents that will be stored in your Drive (see image 2 below, more below in Google Office section), Users can upload almost any type of file, from standard Office filetypes (.docx, .xlsx, .pptx, etc) to multimedia files (.mp3, .mp4, .avi, .hvec, etc) to app-specific files (.psd, .ai, .indd, etc), or almost any other filetype (see image 3 below); one notable filetype that will be flagged and potentially not stored on your Drive is a Windows .exe file or a .zip file containing an .exe file, or any file that Google has flagged as potentially dangerous to a user’s system.

Using Google Office Suite

Google offers a full-feature suite of common office applications, including Docs (the equivalent of Microsoft Word), Sheets (Excel), and Slides (PowerPoint)). The unique power behind Google Office suite is its collaborative design, meaning that more than one author can work on any given document at the same time colleagues can see, edit, and comment on the document in real-time. These documents can be shared with other collaborators, printed or saved (both with .pdf as an option), and saved in native filetypes with minimal loss of design or layout.

The details of Google’s Office suite is a lot to digest and is a bit more than the scope of this article. A short video overview is available here, and well worth the five minutes spent, to get a feel for how things work in the Google Office workspace:


There are many, nay more in-depth tutorials covering all things Google Office that can found with a cursory internet search by searching for “Google [product name (Docs, Sheets, Slides)] Introduction Tutorial” or using similar terms. There are a wealth of resources available to make efficient use of your time when using these tools.

FACULTY USE How To: